
How to Create the Best RSS to Email Newsletter
The RSS to Email feature in MailChimp is a true time saver. It allows me to automate the newsletter creation process using content I am already writing on our blog. I love the idea of creating content once and automating the sharing in a systematic way.
Regardless of the RSS to Email service provider you use, this dlvr.it recipe improves any RSS to Email service by adding more controls and flexibility. Plus, it will save you time and money. You can’t beat that.
- Choose specific content moving from your blog feed to your newsletter
- Specify a delivery schedule(s)
- Combine several RSS feeds into one newsletter
- Add a backup feed (if you want to add more content)
- Limit the number of articles shared within each newsletter delivery cycle
- Create newsletters by category, author, subject matter and more for precise targeting
- Track the performance data of both social and email channels in one dashboard
The tutorial below walks you through the process of creating a “smart” RSS feed that will be used to power your RSS-to-Email newsletter using MailChimp or any email service provider that provides similar functionality.
Creating an RSS to Email Newsletter
Step 1. Create a dlvr.it route
If you are not a dlvr.it user, sign-up for dlvr.it and we’ll walk you through your first route set-up. If you already have a dlvr.it account, sign-in, and click ‘+ Add Route’ on the home screen.

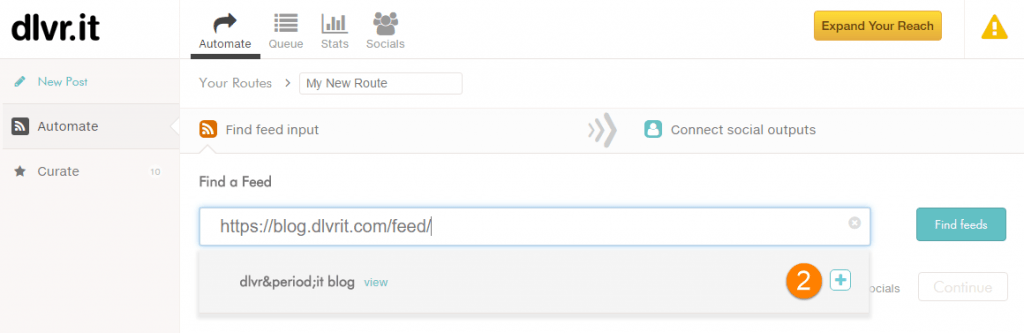
Step 2. Add an RSS feed
This feed can be your blog’s RSS feed or any RSS feed you want. You can add multiple RSS feeds if needed.
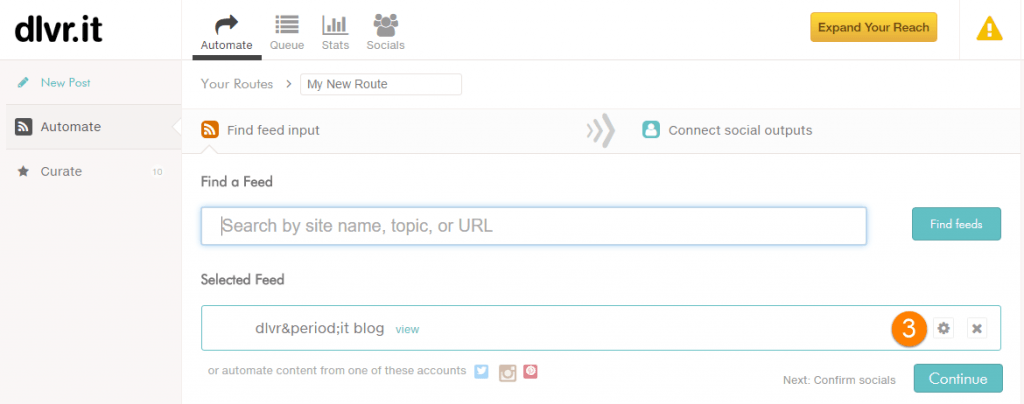
Step 3. Click the gear icon
By clicking the gear icon, you will expose the menu options to enhance the feed, add filters and update frequency.
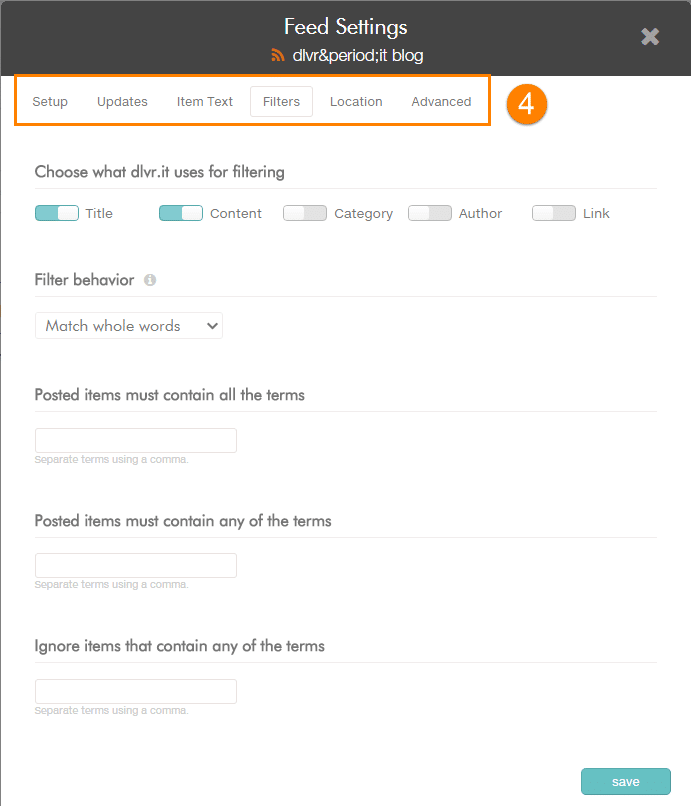
Step 4. Finely tune the content you share in your newsletter
Skip this step if you want your email subscribers to see everything you write on your blog. Click the ‘Filters’ tab. If you prefer to create multiple newsletters or only share select content, fill in the appropriate boxes. For example, you could create unique newsletters by blog category or specific authors or when you write about <fill in the blank> only. NOTE: If you are creating multiple newsletters, you’ll need to follow these steps for each unique RSS-to-Email newsletter you are creating. When finished, click Save.
For example, you could create unique newsletters by blog category or specific authors or when you write about <fill in the blank> only. NOTE: If you are creating multiple newsletters, you’ll need to follow these steps for each unique RSS to Email newsletter you are creating. When finished, click ‘Save’.
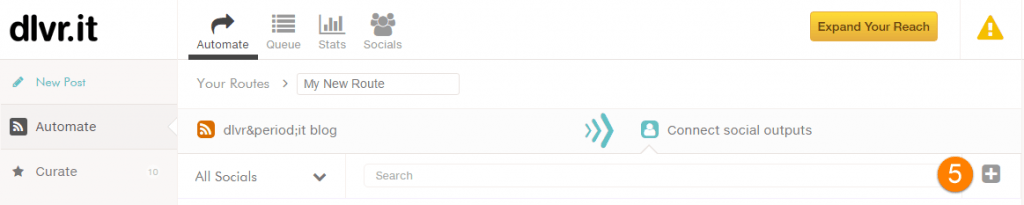
Step 5. Click ‘+ add’
We need to continue setting up the route. In this step, we are telling dlvr.it where you want to send you new enhanced content. In this step, it will be to a new RSS feed.
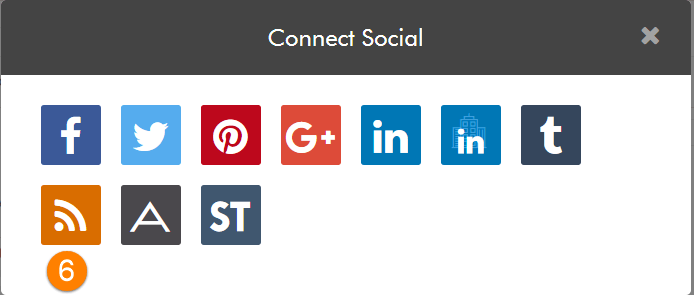
Step 6. Choose the RSS icon
We are creating a new update RSS feed that will support your RSS to Email campaign. The feed will have all your new updates and enhancements you selected in Step 4.
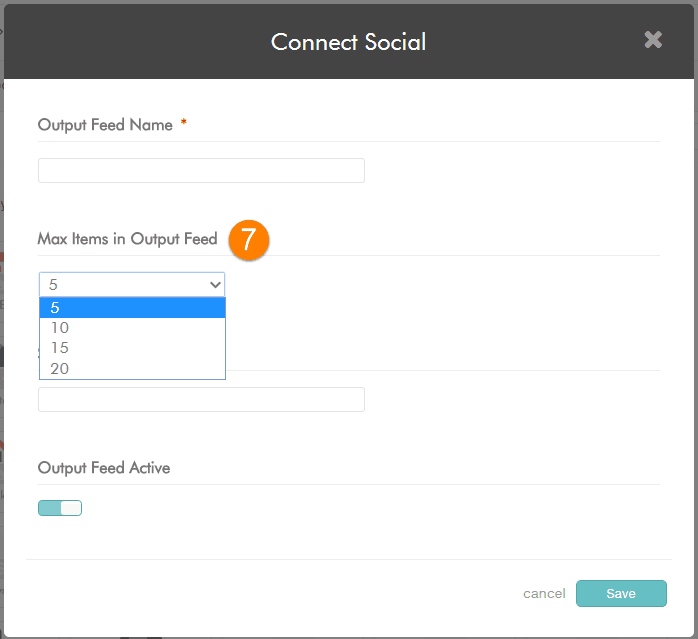
Step 7. Name your new RSS feed
Name your feed and select the number of items you want to appear in the feed and click ‘Save’ (bottom right). The number of items to choose depends on upon how many you write between each newsletter delivery cycle and how many items you want to appear in the newsletter. This new Feed URL is what you will use to power your RSS-to-Email newsletter in MailChimp.
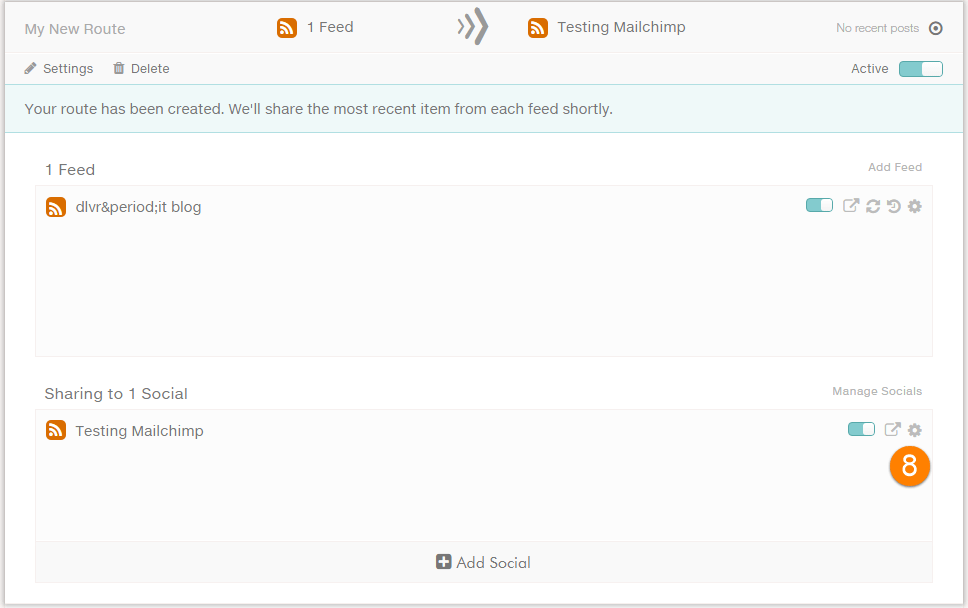
Step 8. Click ‘route settings’
Once you click Save, you will be brought back to the Routes. Click the route. Click the gear icon on the new output RSS feed. We need to copy the feed URL.
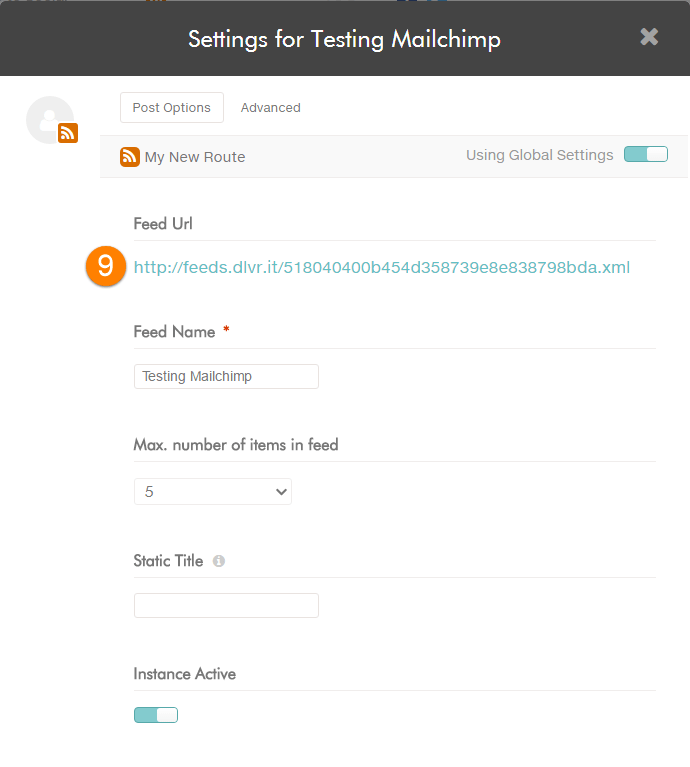
Step 9. Copy the RSS Feed URL
Final Step. Set-up an RSS to Email Newsletter.
Take the smart RSS feed and follow the instructions on setting up an RSS to Email newsletter with your email service provider. Listed below are a few RSS-to-Email tutorials provided by the email service provider:
Sign-up to the dlvr.it newsletter for a live example. You’ll receive weekly tips on creating an irresistible brand, boosting productivity, and maximizing dlvr.it.

